

How to Use a Nebulizing Diffuser®: Filling, Settings, Placement and Care
Learning how to use a nebulizing diffuser takes about five minutes, and most of what goes wrong later can be traced back to those first five minutes. The unit itself is simple: a wooden base with a small air pump, a hand-blown glass reservoir and a glass cap. There is no water tank to fill and no heat plate to wait for. You add pure essential oil, turn the dial, and a fine, dry mist carries the oil into the room.
The simple design hides a few details that matter. Most guides stop at “add 15 drops and switch it on.” This one comes from 12 years of customer emails and repair benches, so it covers the habits that keep a Nebulizing Diffuser® running well for years. We’ll explain why you should fill the glass off the base (it’s the most common cause of a reservoir that keeps popping out), where the fill line really is, why the dial is more sensitive at the top than at the bottom, and the 12-volt vs 5-volt mix-up that voids warranties. Then we’ll cover oils, placement and a simple first-week routine.
How to Use a Nebulizing Diffuser®: Set-Up and Your First Fill
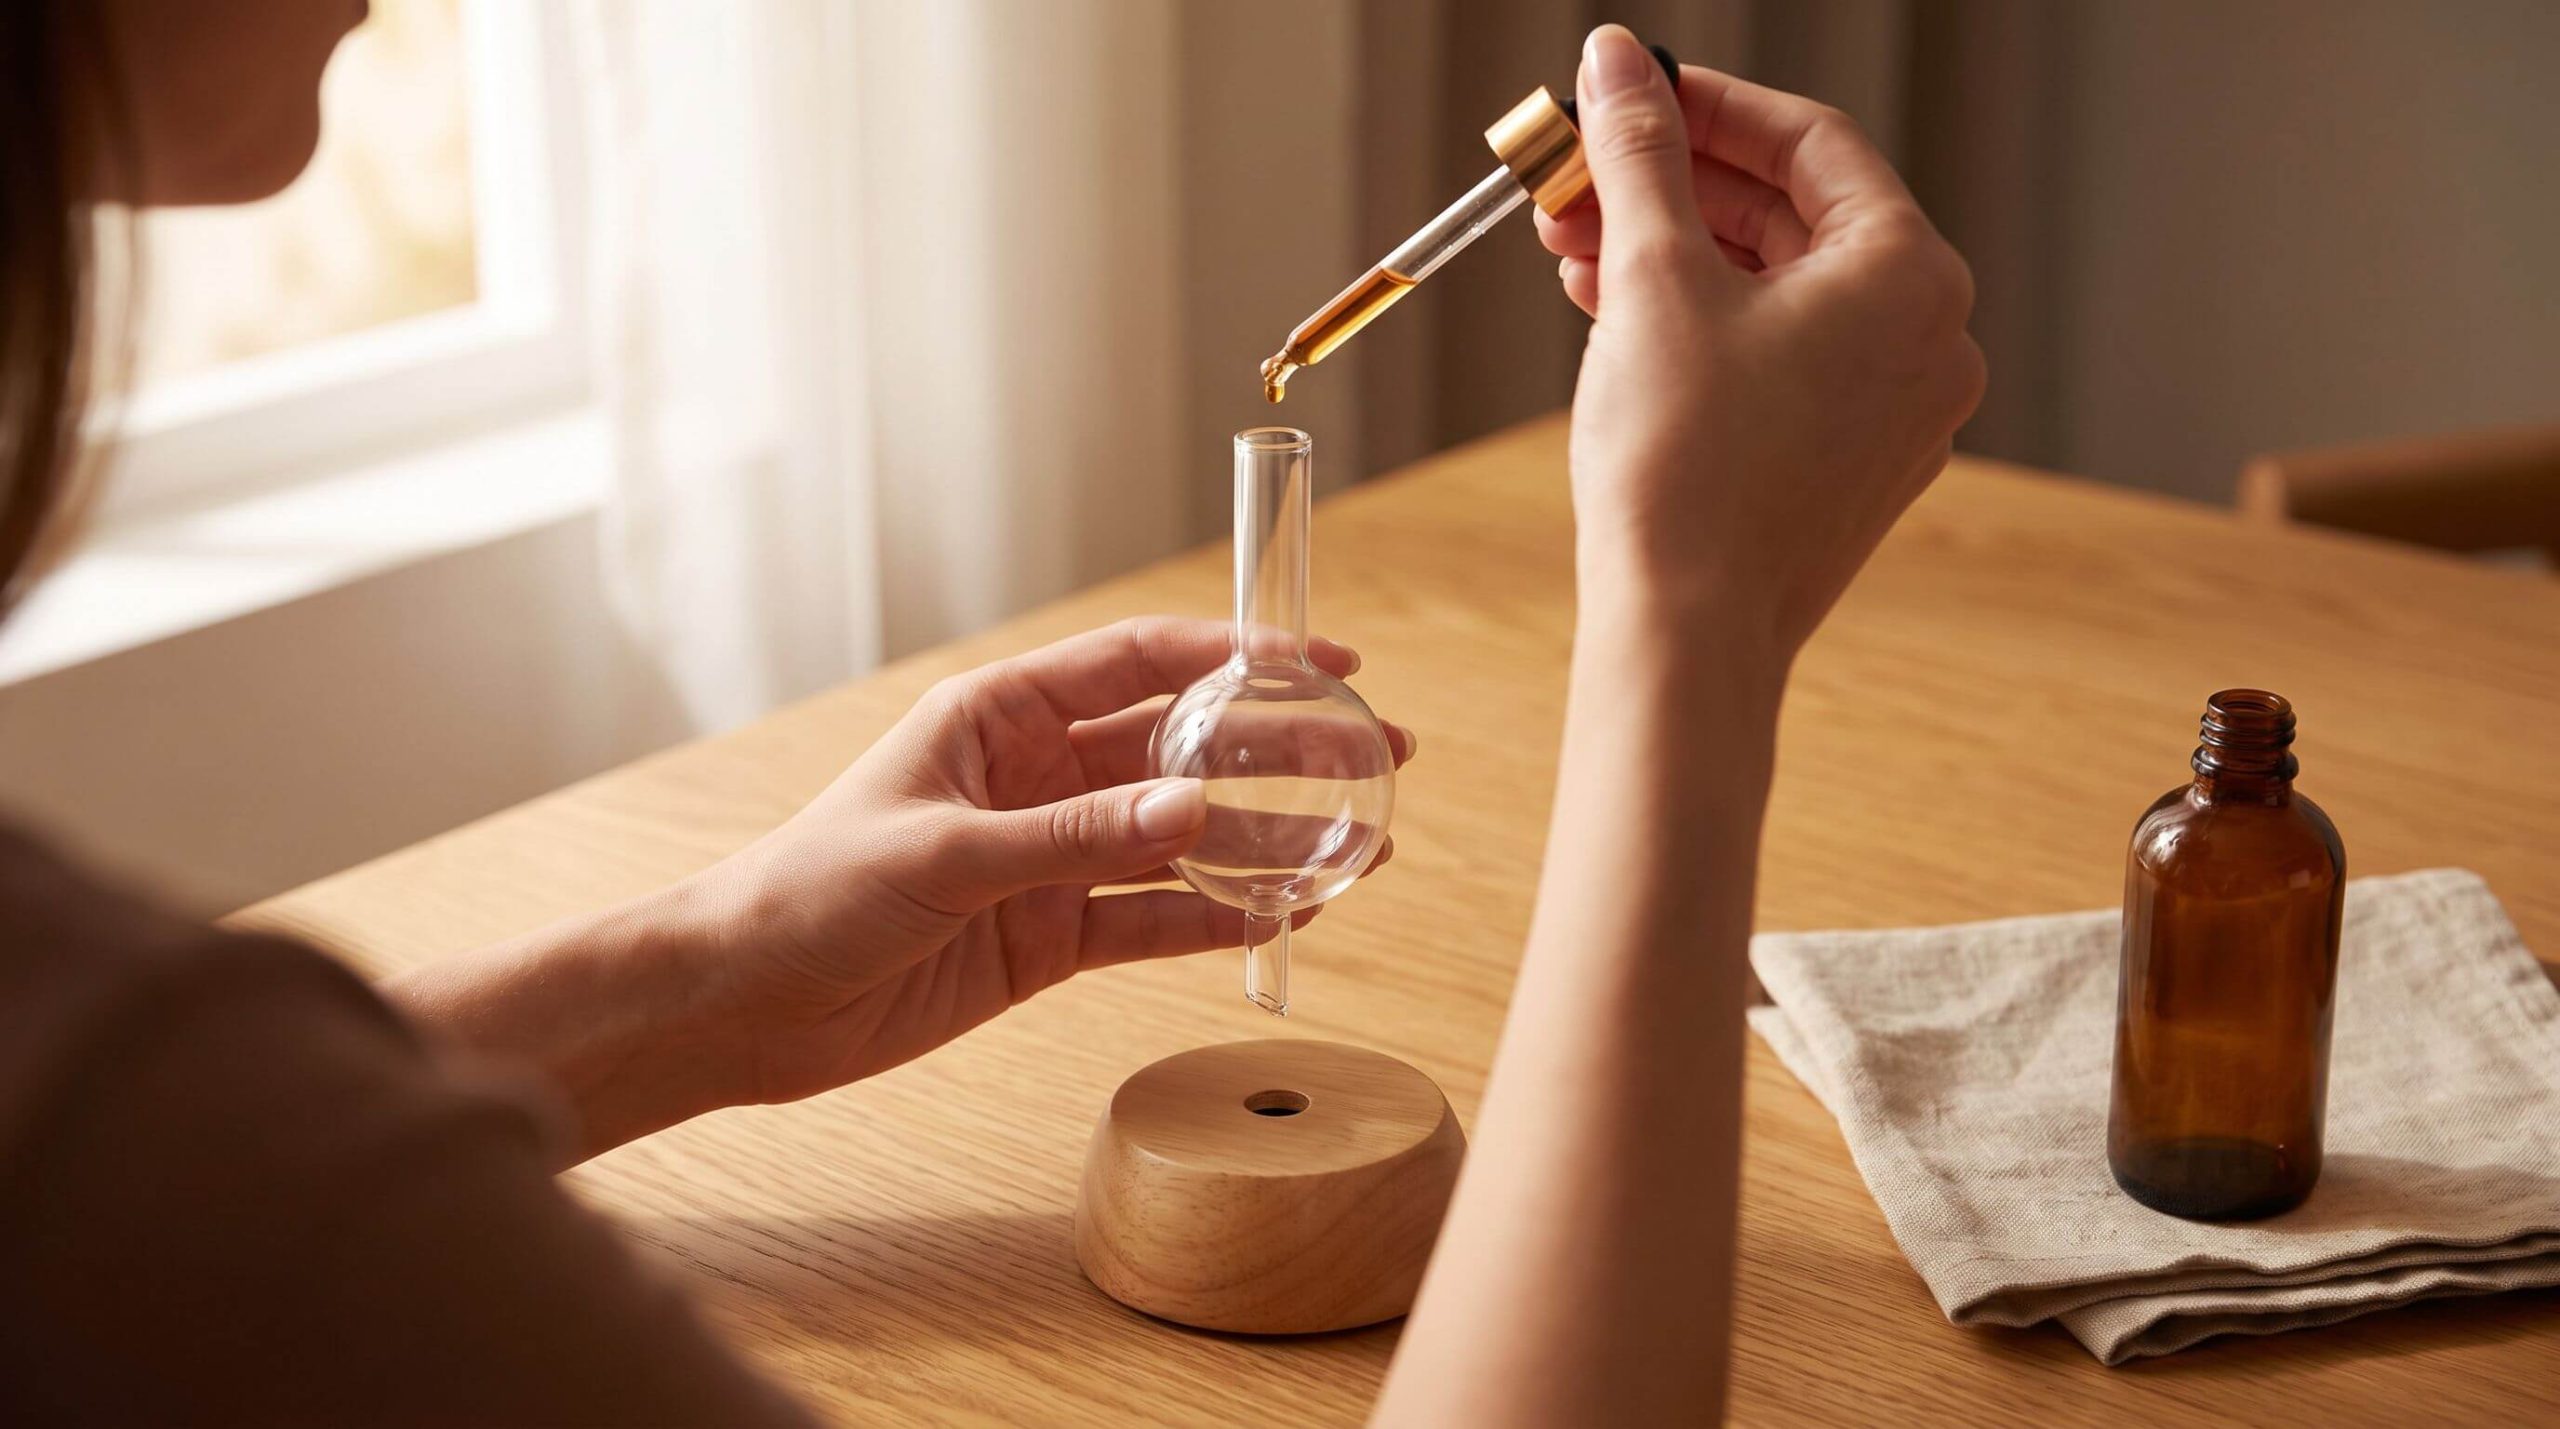
Open the box and you’ll find the wooden base (the pump lives inside it), the glass reservoir, the small glass cap, a power adapter or charging cable, and a plastic cleaning pipette. Look at the bottom of the reservoir and you’ll see two tiny glass tubes. Those micro-tubes are the engine of the whole device: air from the pump rushes past the tip of one tube, the pressure drop described by Bernoulli’s Principle draws oil up the other, and the oil is sheared into a mist. If you want the full physics, our guide to how a Nebulizing Diffuser® really works walks through it.
Step 1: Find a level spot and plug in
Set the base on a flat, stable surface where it won’t be knocked, then connect the power. Leave the dial off for now.
Step 2: Lift the glass off the base before you add oil
This is the step almost everyone skips, and it causes one of the most common faults we see. If you add oil while the reservoir is seated, a stray drop can run down the outside of the glass and settle where the glass stem meets the rubber grommet in the base. Essential oils are powerful solvents, and that drop just sits there. We see three outcomes on units sent in for help:
The glass gets pushed out. Oil works like a lubricant between the stem and the grommet. When the pump starts, the air pressure has nothing to grip against, and it lifts the reservoir up and out of the base.
The grommet degrades. Over months, oil softens and corrodes the rubber until it loses its shape and can’t hold the stem snugly.
The parts fuse. In the worst cases, the oil makes the glass and rubber sticky enough to bond together.
The fix costs nothing. Lift the reservoir straight up (don’t twist it), hold it over a towel or the sink, and add oil with a glass dropper. Wipe the stem with a tissue before you seat it again. If oil ever touches the wood, wipe it off right away, because essential oils will mark wood finishes over time.
Step 3: Respect the real fill line
Start with 15 to 25 drops. The rule that matters is the level, not the count: keep the oil at least 1/4 inch (about 0.5 cm) below the top of the two small glass tubes. If the tips are submerged, the air jet has to push through liquid instead of drawing a thin thread of oil, so you get gurgling, sputtering and more oil on the glass instead of in the air. A nebulizer works best with a little oil and a lot of air.
Step 4: Seat the glass and set the cap
Press the reservoir straight down until it feels firm, then place the glass cap on top. The cap rotates, so you can aim the opening wherever you like (more on that in the placement section). Without the cap, the scent is far too strong and oil lands on nearby surfaces.
Step 5: Switch on low
Turn the dial just past the click and watch the mist start. If you see a faint wisp from the sides of the cap as well as from the top, that’s normal. We explained the design trade-off in our Friday FAQ on what citrus oils do (and don’t do) to the glass.
Settings That Matter: The Dial, the Cycle and Session Length
Once the mist is flowing, three controls shape your experience: how hard the pump blows, how often it pauses, and how long you run it.
Why the dial gets more sensitive near the top
On classic models, the dial works like a dimmer for the pump: turn it up and air moves faster across the micro-tube. Bernoulli’s Principle tells us the suction that lifts the oil rises with the square of that air speed, so twice the airflow gives roughly four times the pull. In practice, output, oil use and pump noise tend to climb faster than the dial position suggests, so a small turn near the top can make a much bigger jump than the same turn near the bottom. So start at the bottom and move up in small steps. Most rooms need far less than people expect, because a nebulizer releases pure oil with no water in it.
The built-in rhythm: 2 minutes on, 1 minute off
Classic Organic Aromas models run in a cycle of 2 minutes on and 1 minute off, and switch themselves off after 120 minutes. That isn’t a fault. The pause gives the room time to carry the scent and your nose a chance to reset. We explain why pulsing keeps a room smelling noticeable in our guide on how to make your house smell good and keep noticing it. If your unit stops on its own after two hours, the timer is doing its job.
How long to run it
For most rooms, 30 to 60 minutes is plenty, and beginners should start at the short end. As a guide, 15 to 30 drops gives about 1 to 2 hours of diffusion on a low setting. Higher settings use oil faster. Our Friday FAQ on how long a 10 ml bottle lasts does the full math, including why “20 drops per millilitre” undercounts.
Smart models and schedules
Smart Nebulizing Diffusers® replace the dial with the Organic Aromas app, where you set intensity and schedules. Bluetooth reaches about 10 meters (30 feet), and one phone controls one unit at a time. The rechargeable battery gives roughly 16 to 20 hours of use per charge and takes about 4 to 5 hours to fill from empty. For a classic model, you can add scheduling with a Wi-Fi Mini Smart Socket.
Sounds you can ignore, and one you shouldn’t
A gentle hum is the pump, and it’s normal. A soft slurping, like the last sip through a straw, simply means the oil is running low; add a few drops. A grinding, rattling or suddenly louder noise is different, so stop the unit and check our Nebulizing Diffuser® troubleshooting guide.

Sign Up to Get Your FREE
e-Book Here…
Where to Place Your Nebulizing Diffuser®

A nebulizing diffuser fills a room quickly. Most desktop models cover up to about 800 square feet, so placement is less about reach and more about comfort and protecting your furniture.
Distance: about 6 feet from where you sit or sleep
Keep the unit roughly 6 feet (2 meters) from your sofa, desk or bed. You’ll enjoy the aroma as it spreads through the room rather than a concentrated stream at close range, and the pump’s hum fades into the background. In large or open-plan spaces, put it closer to where people actually spend time. Our guide to scenting a large room covers sizing in detail.
Aim the cap away from wood, leather and screens
Most guides miss this one. A nebulizer releases pure oil, not water vapor, and some of the finest droplets eventually settle. Over weeks, a unit pointed at the same bookshelf or leather armchair can leave a faint film, and undiluted essential oils can dull wood finishes. Rotate the glass cap so the opening faces open air, toward the middle of the room, not at a nearby surface. Keep it off polished antiques and away from the TV.
A soft base, a level surface
Hard surfaces such as glass or bare wood can amplify the pump’s vibration. A folded cloth, cork coaster or felt mat under the base quiets it noticeably. Avoid the edge of a shelf, anywhere a pet’s tail or a child’s hand can reach, and spots right next to a vent or an open window, where the scent gets blown away before you notice it. Keep it well away from candles and open flames. If you’re tempted to set it on a warm windowsill or radiator, read our Friday FAQ on heat and your Nebulizing Diffuser® first.
Power: The 12-Volt vs 5-Volt Mix-Up
This is the least glamorous part of how to use a nebulizing diffuser, and the one most likely to cause a problem nobody can fix. Organic Aromas makes two kinds of bases, and they run on different voltages.
Corded classic models run on 12 volts
Plug-in wooden bases use a 12-volt DC adapter. The good news for travelers is that the standard adapter accepts 110 to 220 volts at the wall, so moving between the US, Europe or Asia usually needs only a plug-shape adapter, not a voltage converter. If you lose it, buy the matching 12 Volt DC Adapter rather than whatever is in the drawer.
Here is the catch most owners discover the hard way: a USB port only supplies 5 volts. Plugging a 12-volt base into a laptop or phone charger with a generic cable won’t give the pump enough power. That’s why we make a dedicated USB 5V-to-12V converter cable for running a classic base from a computer. For the road, see our guide to using an essential oil diffuser in the car.
Rechargeable models charge at 5 volts
Rechargeable models such as Tranquility and Zenara charge on a 5-volt cable, and Smart models use the charging cable they ship with. Never use a 12-volt adapter on a 5-volt unit just because the plug happens to fit. Too much voltage can damage the internal pump, and damage from the wrong voltage is not covered by the warranty. If a cable goes missing, use the matching 5 Volt Cable for Rechargeable Diffuser.
Battery habits
Rechargeable units can run while charging. Recharge before the battery is completely flat, keep the unit away from high heat, and don’t leave it charging unattended, which is good practice for any lithium battery.

Sign Up to Get Your FREE Essential Oils e-Book Here
Which Oils to Use (and the Thick Ones That Need Help)
A nebulizer diffuses exactly what you put in it, so the oil matters more here than in a water-based unit.
What goes in
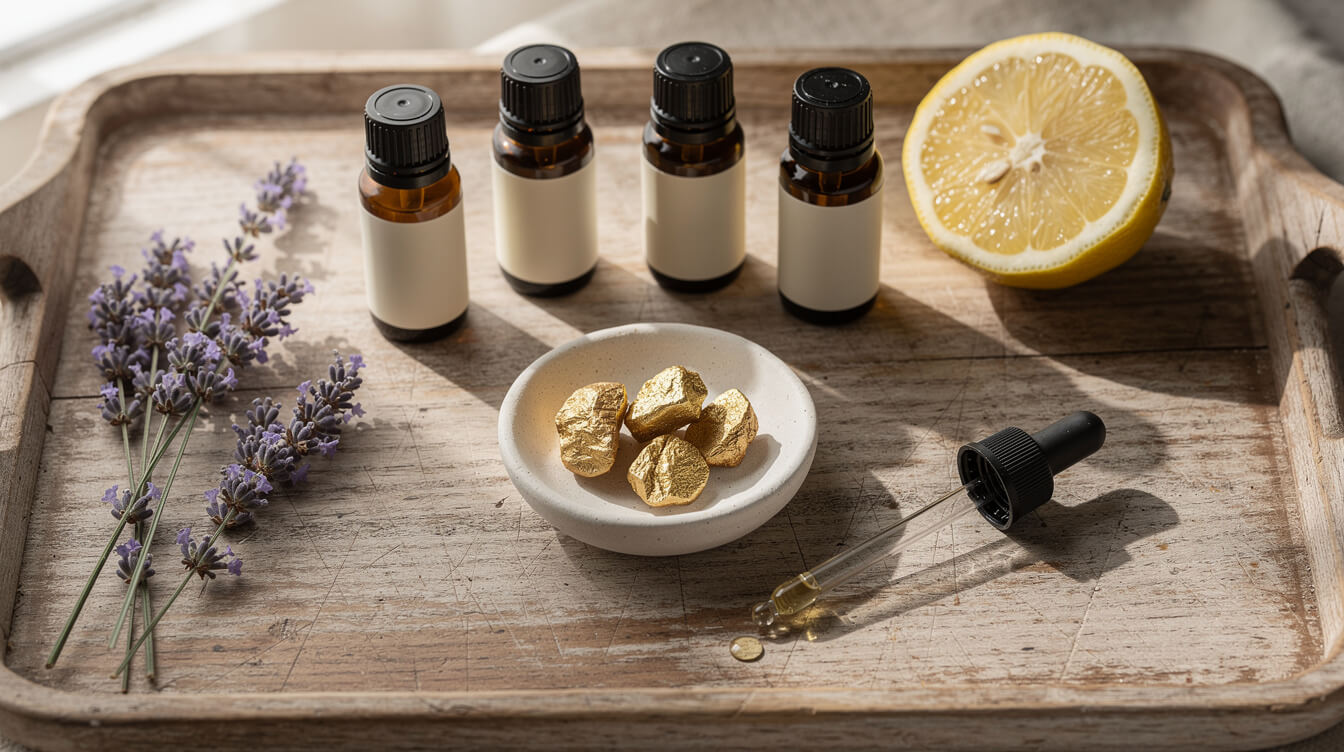
Use 100% pure essential oils, stored in a cool, dark place and ideally less than 2 to 3 years old. Old oils oxidize and turn sticky, which is exactly what clogs the micro-tubes. Bright, thin oils are the easiest place to start: Lavender for a soft evening, Sweet Orange for a cheerful kitchen, or the two together. Our guide to the best Nebulizing Diffusers® also suggests oils by room.
What never goes in
No water, ever. No carrier oils such as jojoba, coconut or almond; they don’t atomize, and they leave a film that clogs the tubes. That includes ready-made roll-on blends, which are mostly carrier oil, as our Friday FAQ on roll-on blends explains. And nothing with solids, sediment or added ingredients.
The thick-oil list
Some beautiful oils are simply too viscous to run alone: vetiver, patchouli, myrrh, frankincense, benzoin, sandalwood and cypress. Used neat, they can slow the mist and eventually block the tubes. You have three options: blend them with thinner oils so they make up a minority of the mix, thin them with Augeo Clean Multi (a clear diluent we stock for exactly this purpose), or clean the glass right after a session. Our frankincense and myrrh guide gives tested ratios, and our Friday FAQ on thick oils explains why they behave differently.
Cold oil flows slowly
If you keep oils in the refrigerator to extend their life, let the bottle reach room temperature before you fill the glass. Viscosity rises as oil cools, so a cold oil draws up the tube more slowly and gives a weaker mist until it warms up.
When you’re ready to add a second room or try a cordless model, you’ll find every handcrafted design in our Nebulizing Diffuser® collection. The Raindrop Smart Nebulizing Diffuser® is a good place to start if you want app scheduling.
Your First Week: Habits That Keep It Running for Years
With reasonable care, an Organic Aromas base is built for 2,000+ hours of use. At an hour a day, that’s more than five years. Nearly everything that shortens that life comes from a handful of small habits, and they’re easy to build in the first week.
Clean on a schedule, not when it fails
Clean the glass about once a week, or every 2 to 4 uses if you run it daily, and always before putting it away for more than a week. The method takes ten minutes with isopropyl alcohol (70% or stronger) and the pipette from the box. Our step-by-step guide on how to clean an essential oil diffuser shows the waterless method, including how to flush the micro-tubes. Always clean straight after thick oils.
Switch oils with a quick rinse
Changing from a citrus morning blend to a woody evening one? Empty the glass, swirl a few milliliters of alcohol through it, let it dry completely, then refill. Oil left over from the last blend will change how the new one smells.
Learn the 10-second health check
If the mist ever looks weaker, switch the unit on and hold a fingertip lightly over the opening in the glass cap. Steady air pressure means the pump is fine and the tubes probably need cleaning. No pressure points to a clog or a power problem, and the troubleshooting guide covers both.
Keep a spare glass in mind
Hand-blown glass is the part most likely to meet a hard floor. A Replacement Glass Reservoir Set has you running again the same day, and spare cleaning pipettes are worth having in the drawer.

Join Our Exclusive Member Club to get Big Discounts!
How to Use a Nebulizing Diffuser: Frequently Asked Questions
How many drops of essential oil do I put in a nebulizing diffuser?
Start with 15 to 25 drops, and keep the oil at least 1/4 inch (about 0.5 cm) below the top of the two small glass tubes at the bottom of the reservoir. As a guide, 15 to 30 drops gives about 1 to 2 hours of diffusion on a low setting.
Do you put water in a nebulizing diffuser?
No. A Nebulizing Diffuser® is designed for pure, undiluted essential oil only. Water and carrier oils don’t atomize properly and can clog the micro-tubes.
How long should I run my nebulizing diffuser?
30 to 60 minutes per session is enough for most rooms, using the built-in 2-minutes-on, 1-minute-off cycle on classic models or a schedule in the app on Smart models. Classic models switch off automatically after 120 minutes.
Why is mist coming out of the sides of the glass cap?
That’s normal. Most of the mist leaves through the top opening, but a little can escape where the cap meets the reservoir. Oil particles tend to seal that small gap within about 10 minutes of use.
Why does my glass reservoir keep popping out of the base?
Almost always because oil has run down the outside of the glass onto the rubber grommet, making it slippery or wearing it down. Clean the stem and grommet with isopropyl alcohol, let them dry, and fill the glass off the base from now on. If the grommet is visibly damaged, contact us about a replacement base.
Is it safe to use a nebulizing diffuser around children and pets?
Use it in a ventilated room, keep sessions short, place the unit out of reach, and make sure pets can leave the room. Take extra care around cats, birds, babies and anyone who is pregnant, elderly or managing a health condition, and check with a clinician or veterinarian if you’re unsure. Our guide to essential oils and pets has more detail.
That’s really all there is to using a nebulizing diffuser well: fill it off the base, stay below the line, start low, aim the cap at open air, use the right power supply, and clean it weekly. Do those six things and your Nebulizing Diffuser® will keep filling your home with pure, true-to-the-bottle aroma for years. For a side-by-side look at how this compares with the water-based method, see our nebulizing vs ultrasonic how-to guide.